When it comes to pairing with boiled eggs, the possibilities are endless, as they can complement both simple and more elaborate dishes. Start with avocado toast—smear ripe avocado on toasted bread, then add a sliced boiled egg on top, seasoning with a bit of salt and pepper for a deliciously creamy and satisfying bite.
For something light and refreshing, a chickpea salad with diced vegetables and a zesty dressing, topped with sliced boiled eggs, offers a great balance of protein and freshness.
If you’re in the mood for something heartier, a plate of pasta primavera with colorful veggies is elevated by halved boiled eggs, adding richness and texture.
For a flavorful twist, add boiled eggs to a coconut curry, boosting the dish with protein and enhancing its depth. And for a fun, savory breakfast, top a warm bowl of oatmeal with a boiled egg, fresh scallions, and a drizzle of sriracha to create a comforting, satisfying meal.

In the quest for the perfect boiled egg, many people face frustration. They desire a smooth white exterior and a yolk that is just the right consistency. Over the years, I’ve experimented with countless methods, only to stumble upon one that shines when using an induction cooktop.
Boiling eggs on induction is not just about heat; it’s about timing, technique, and a little bit of love. Many people have difficulty achieving that perfect boil. Some eggs become rubbery, while others turn out undercooked.
Fear not! This guide takes you through the process step by step, ensuring you’re equipped for success.
What Does It Mean to Boil Eggs Perfectly on Induction?
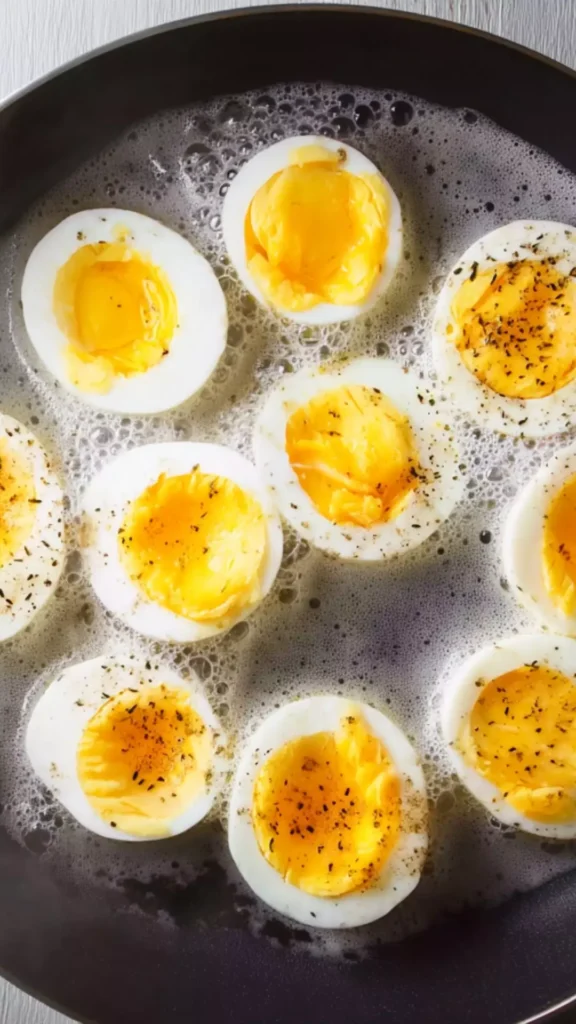
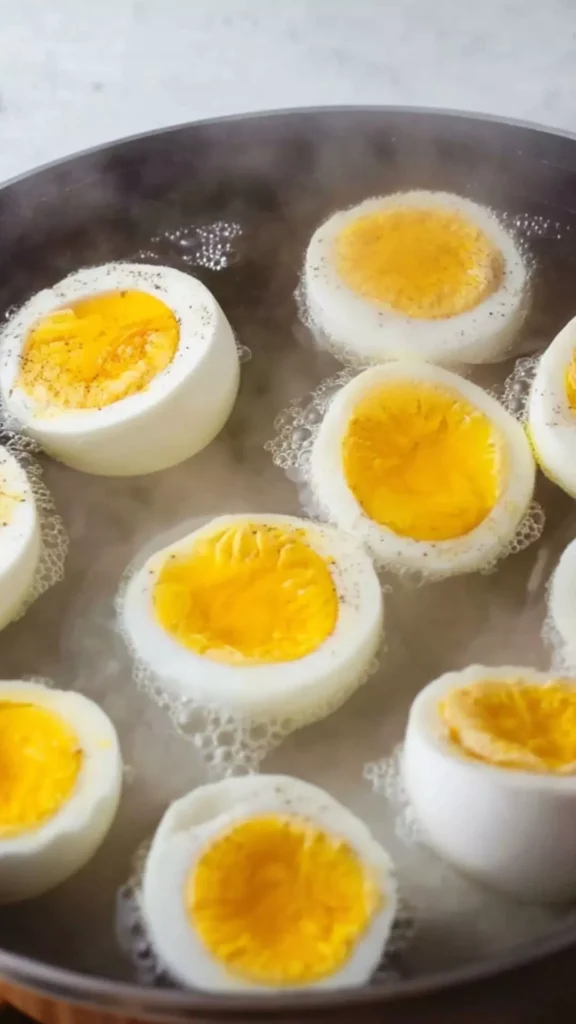
Boiling eggs perfectly on induction means reaching that sweet spot where the egg whites are fully set, while the yolks remain creamy. Induction cooktops are phenomenal because they provide instantaneous heat control.
This means you can adjust the temperature quickly based on cooking progress, leading to fewer chances of errors.
What is the Flavor Profile of This Dish?
Boiled eggs possess a delicate flavor. The whites are subtly savory, while the yolk offers a rich, custardy quality that can be enhanced with various seasonings.
When paired with spices, herbs, or sauces, the humble boiled egg transcends its simple origins to become a gastronomic delight.
Why You’ll Love This?
You’re not just boiling eggs; you’re crafting a dish that fits breakfast, lunch, or dinner. They’re incredibly versatile, making them a perfect addition to many meals. The process is simple, quick, and, most importantly, failsafe when done right.
Let’s face it: Who doesn’t enjoy that yolk just oozing from a perfectly boiled egg? You can also dress them up with various toppings or mix them into salads and wraps, making them the chameleon of the culinary world.
Ingredients
Before we dive into the steps, gather the following:
– 1 tsp white vinegar
– 4 large eggs
– 1 tsp salt
These three simple ingredients come together to create egg perfection.

Step by Step Instructions
Step 1: Prepare the Water
Start by filling a medium-sized pot with water. You need enough water to submerge the eggs completely but leave some space. Place the pot on your induction cooktop and set it to high heat until the water comes to a rolling boil.
Step 2: Add Vinegar and Salt
Once the water is boiling, add the salt and vinegar. Why vinegar? It helps keep the egg whites intact in case an egg cracks during cooking. Not a necessity, but a smart move nonetheless.
Step 3: Add the Eggs
Reduce the heat to medium-high. Using a slotted spoon, carefully lower the eggs into the boiling water one at a time. Safety first; we don’t want any splashes here!
Step 4: Timing is Key
Start your timer now. For perfectly boiled eggs:
- Soft-boiled: Cook for 6-7 minutes for a runny yolk and set whites.
- Medium-boiled: Aim for 8-9 minutes for a slightly firmer yolk yet still creamy.
- Hard-boiled: 10-12 minutes will yield fully cooked yolks.
Step 5: Ice Bath
While the eggs are boiling, prepare an ice bath.
Fill a bowl with cold water and ice. When the eggs reach your desired cooking time, transfer them quickly into the ice bath. This stops the cooking process and makes peeling much easier.
Step 6: Peel and Enjoy
After a few minutes in the ice bath, remove the eggs. Gently tap them on a hard surface to crack the shell.
Begin peeling from the wider end, where there’s usually an air pocket, facilitating easier shell removal. Devour them plain, sprinkle with salt, or toss them in your favorite salad.
Tips & Tricks
- Freshness Matters: Using slightly older eggs can make peeling them easier. If you’re boiling eggs for a special occasion, select eggs bought a week or more ago.
- Don’t Overcrowd: Boil only as many eggs as you can comfortably fit in your pot. Overcrowding can create uneven cooking.
- Control the Heat: Keep an eye on your induction unit to prevent water from boiling over.
- Experiment with Timing: Try a few different cooking times to find your ideal yolk consistency.
- Seasoning Game: Feel free to spice things up. A pinch of smoked paprika or everything bagel seasoning brings delightful flavor.

How Can You Store This?
If you have leftover boiled eggs, store them in a covered container in the refrigerator. They remain fresh for about one week.
If you want to peel them in advance, peel only what you’ll eat in a few days to prevent moisture loss.
Alternatives if Ingredients Are Not Available
If you cannot find the required ingredients, here are some substitutions:
- Salt: Instead of regular salt, you can use sea salt. It gives a different, yet delightful texture.
- Vinegar: If vinegar is missing from your pantry, lemon juice serves as an appropriate alternative. It helps with preserving the whites just like vinegar.
- Eggs: In case you prefer a vegan lifestyle, consider using tofu. It mimics the texture of boiled eggs and works well in salads and wraps.

How To Boil Eggs Perfectly On Induction
Equipment
- medium-sized pot
Ingredients
- 1 tsp white vinegar
- 4 large eggs
- 1 tsp salt
Instructions
- Start by filling a medium-sized pot with water. You need enough water to submerge the eggs completely but leave some space. Place the pot on your induction cooktop and set it to high heat until the water comes to a rolling boil.
- Once the water is boiling, add the salt and vinegar. Why vinegar? It helps keep the egg whites intact in case an egg cracks during cooking. Not a necessity, but a smart move nonetheless.
- Reduce the heat to medium-high. Using a slotted spoon, carefully lower the eggs into the boiling water one at a time. Safety first; we don’t want any splashes here!
- Start your timer now. For perfectly boiled eggs:
- Soft-boiled: Cook for 6-7 minutes for a runny yolk and set whites.
- Medium-boiled: Aim for 8-9 minutes for a slightly firmer yolk yet still creamy.
- Hard-boiled: 10-12 minutes will yield fully cooked yolks.
- While the eggs are boiling, prepare an ice bath.
- Fill a bowl with cold water and ice. When the eggs reach your desired cooking time, transfer them quickly into the ice bath. This stops the cooking process and makes peeling much easier.
- After a few minutes in the ice bath, remove the eggs. Gently tap them on a hard surface to crack the shell.
- Begin peeling from the wider end, where there’s usually an air pocket, facilitating easier shell removal. Devour them plain, sprinkle with salt, or toss them in your favorite salad.
Notes
- Freshness Matters: Using slightly older eggs can make peeling them easier. If you’re boiling eggs for a special occasion, select eggs bought a week or more ago.
- Don’t Overcrowd: Boil only as many eggs as you can comfortably fit in your pot. Overcrowding can create uneven cooking.
- Control the Heat: Keep an eye on your induction unit to prevent water from boiling over.
- Experiment with Timing: Try a few different cooking times to find your ideal yolk consistency.
- Seasoning Game: Feel free to spice things up. A pinch of smoked paprika or everything bagel seasoning brings delightful flavor.
Nutrition
Frequently Asked Questions
Conclusion
Perfectly boiled eggs on an induction cooktop unlock a world of culinary possibilities and convenience. With just a few ingredients and a straightforward process, you can create an incredibly versatile dish that enhances countless meals.
Whether served atop a salad, nestled in a sandwich or enjoyed as a snack, these eggs could become a staple in your kitchen.
Now you’re well-equipped with the know-how to master this classic dish. So roll up those sleeves, connect with your inner chef, and enjoy the deliciousness that awaits.
Happy cooking!


